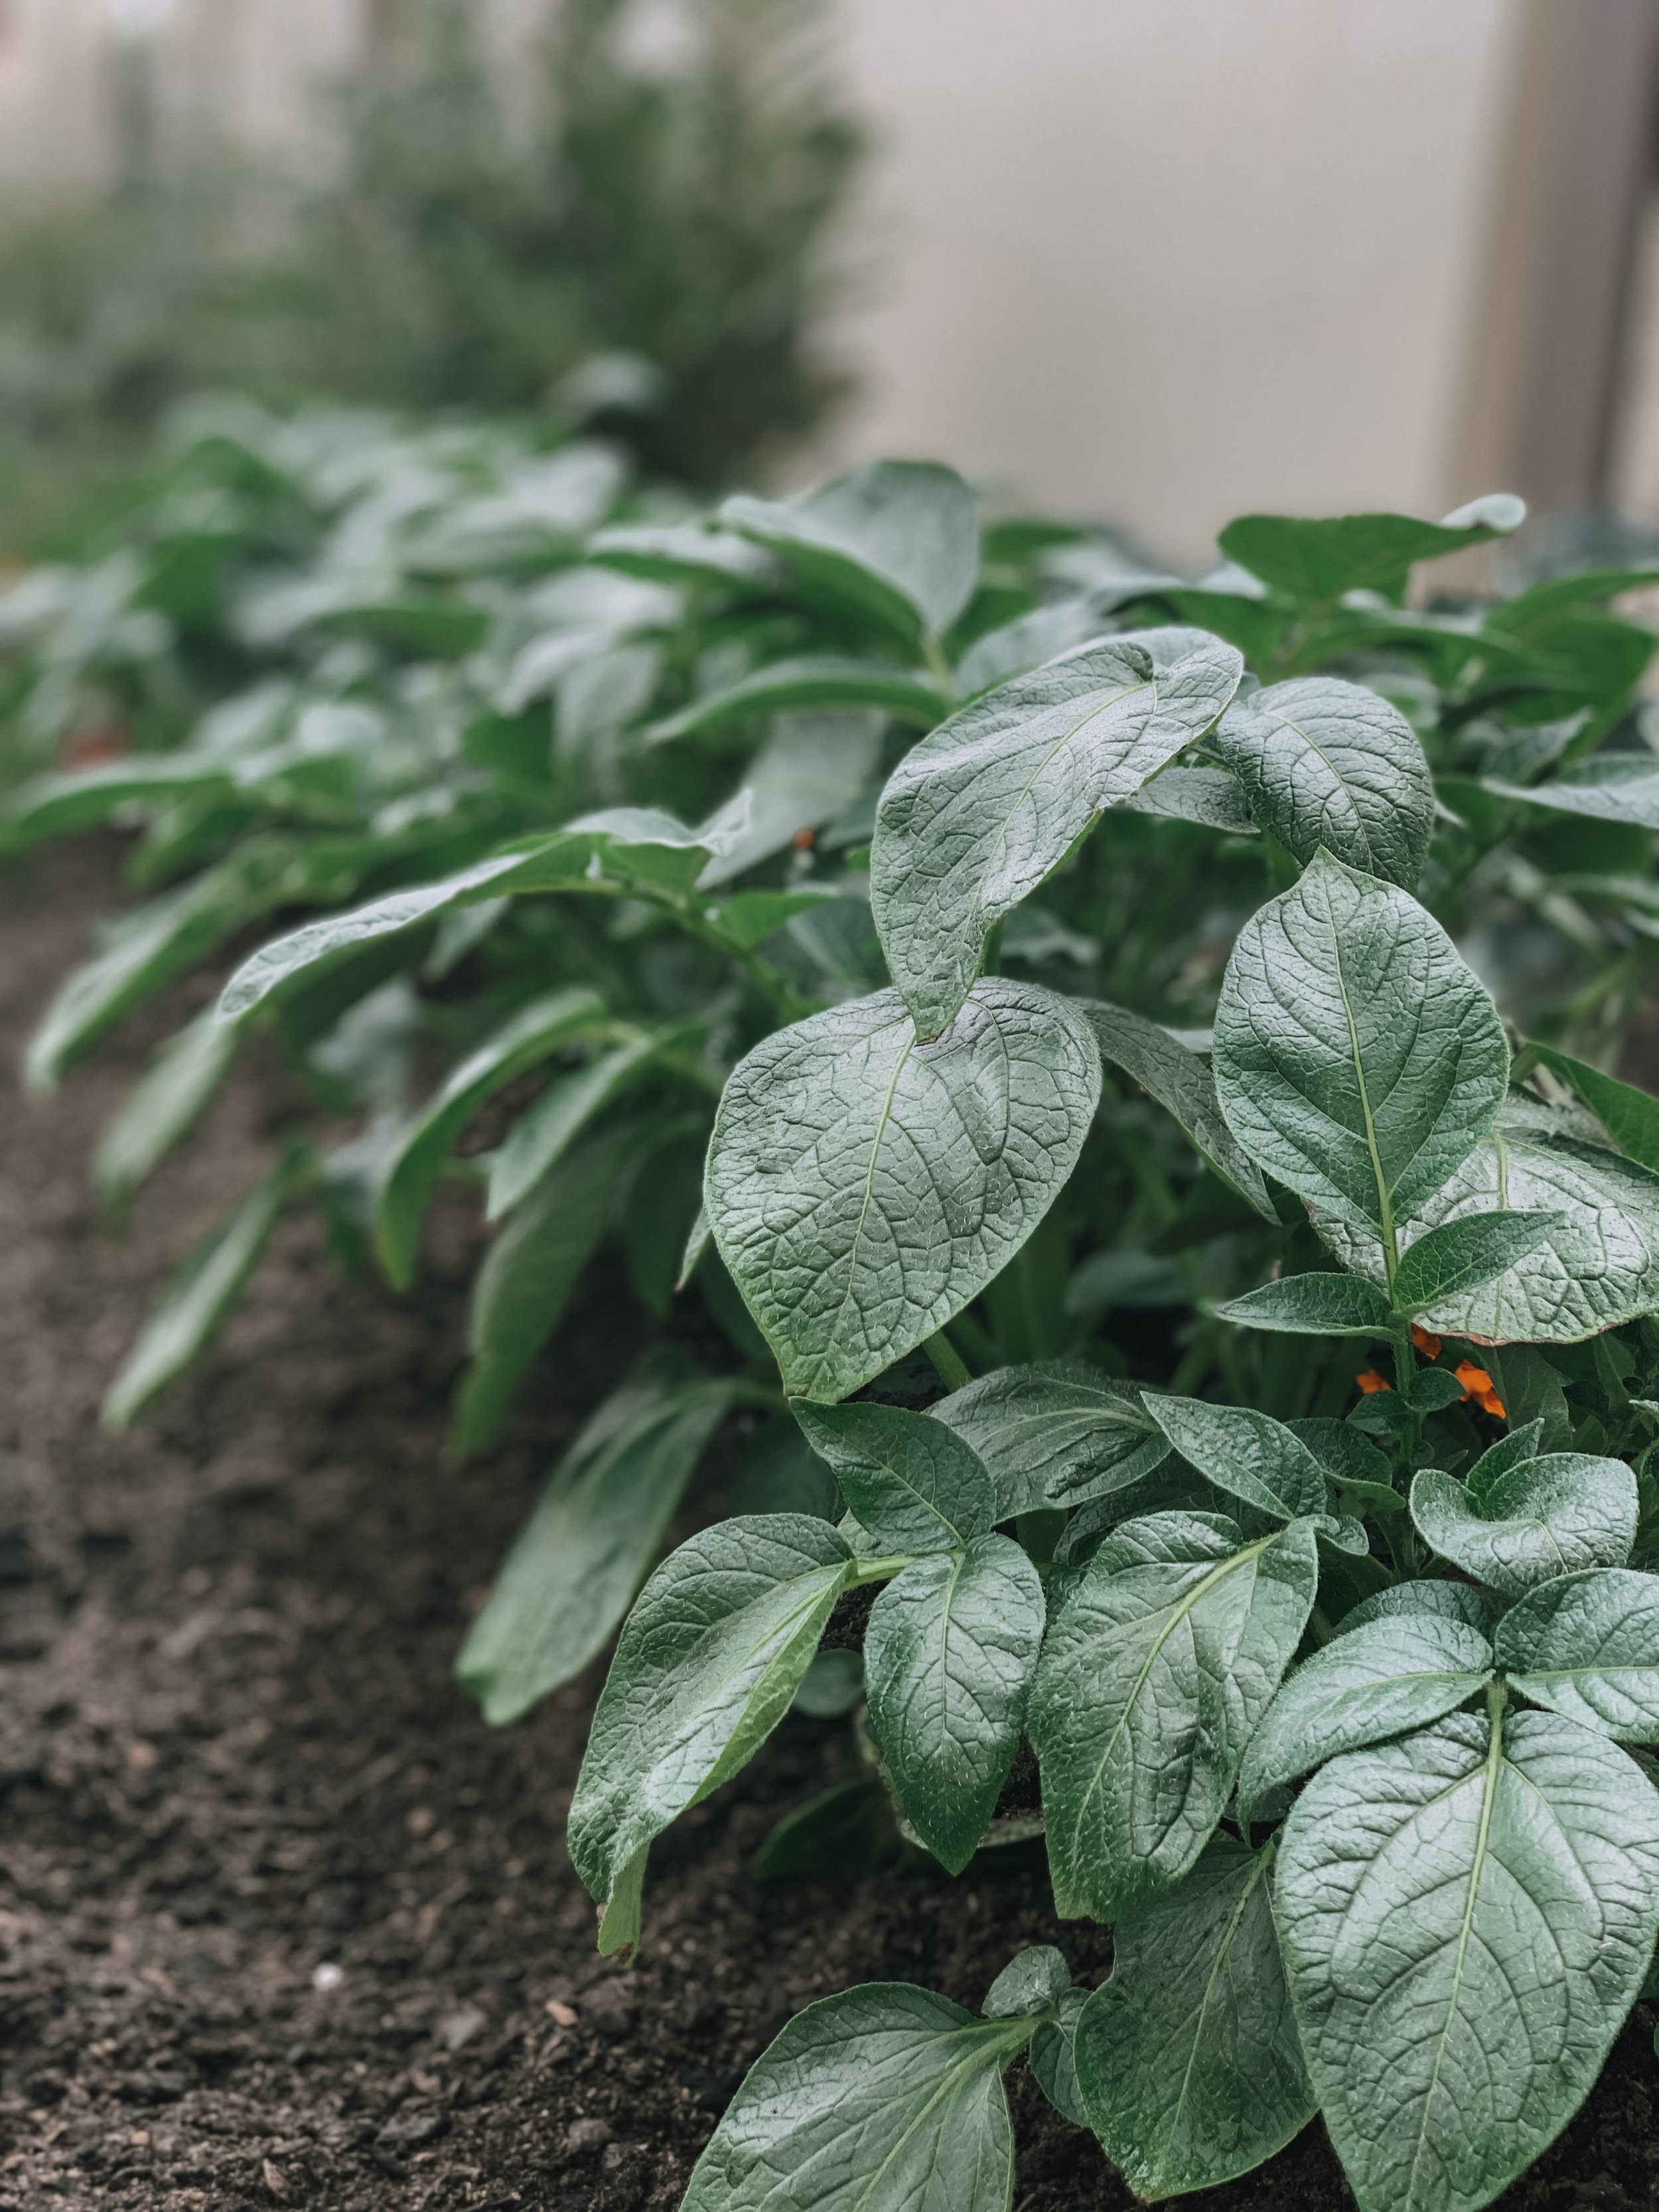
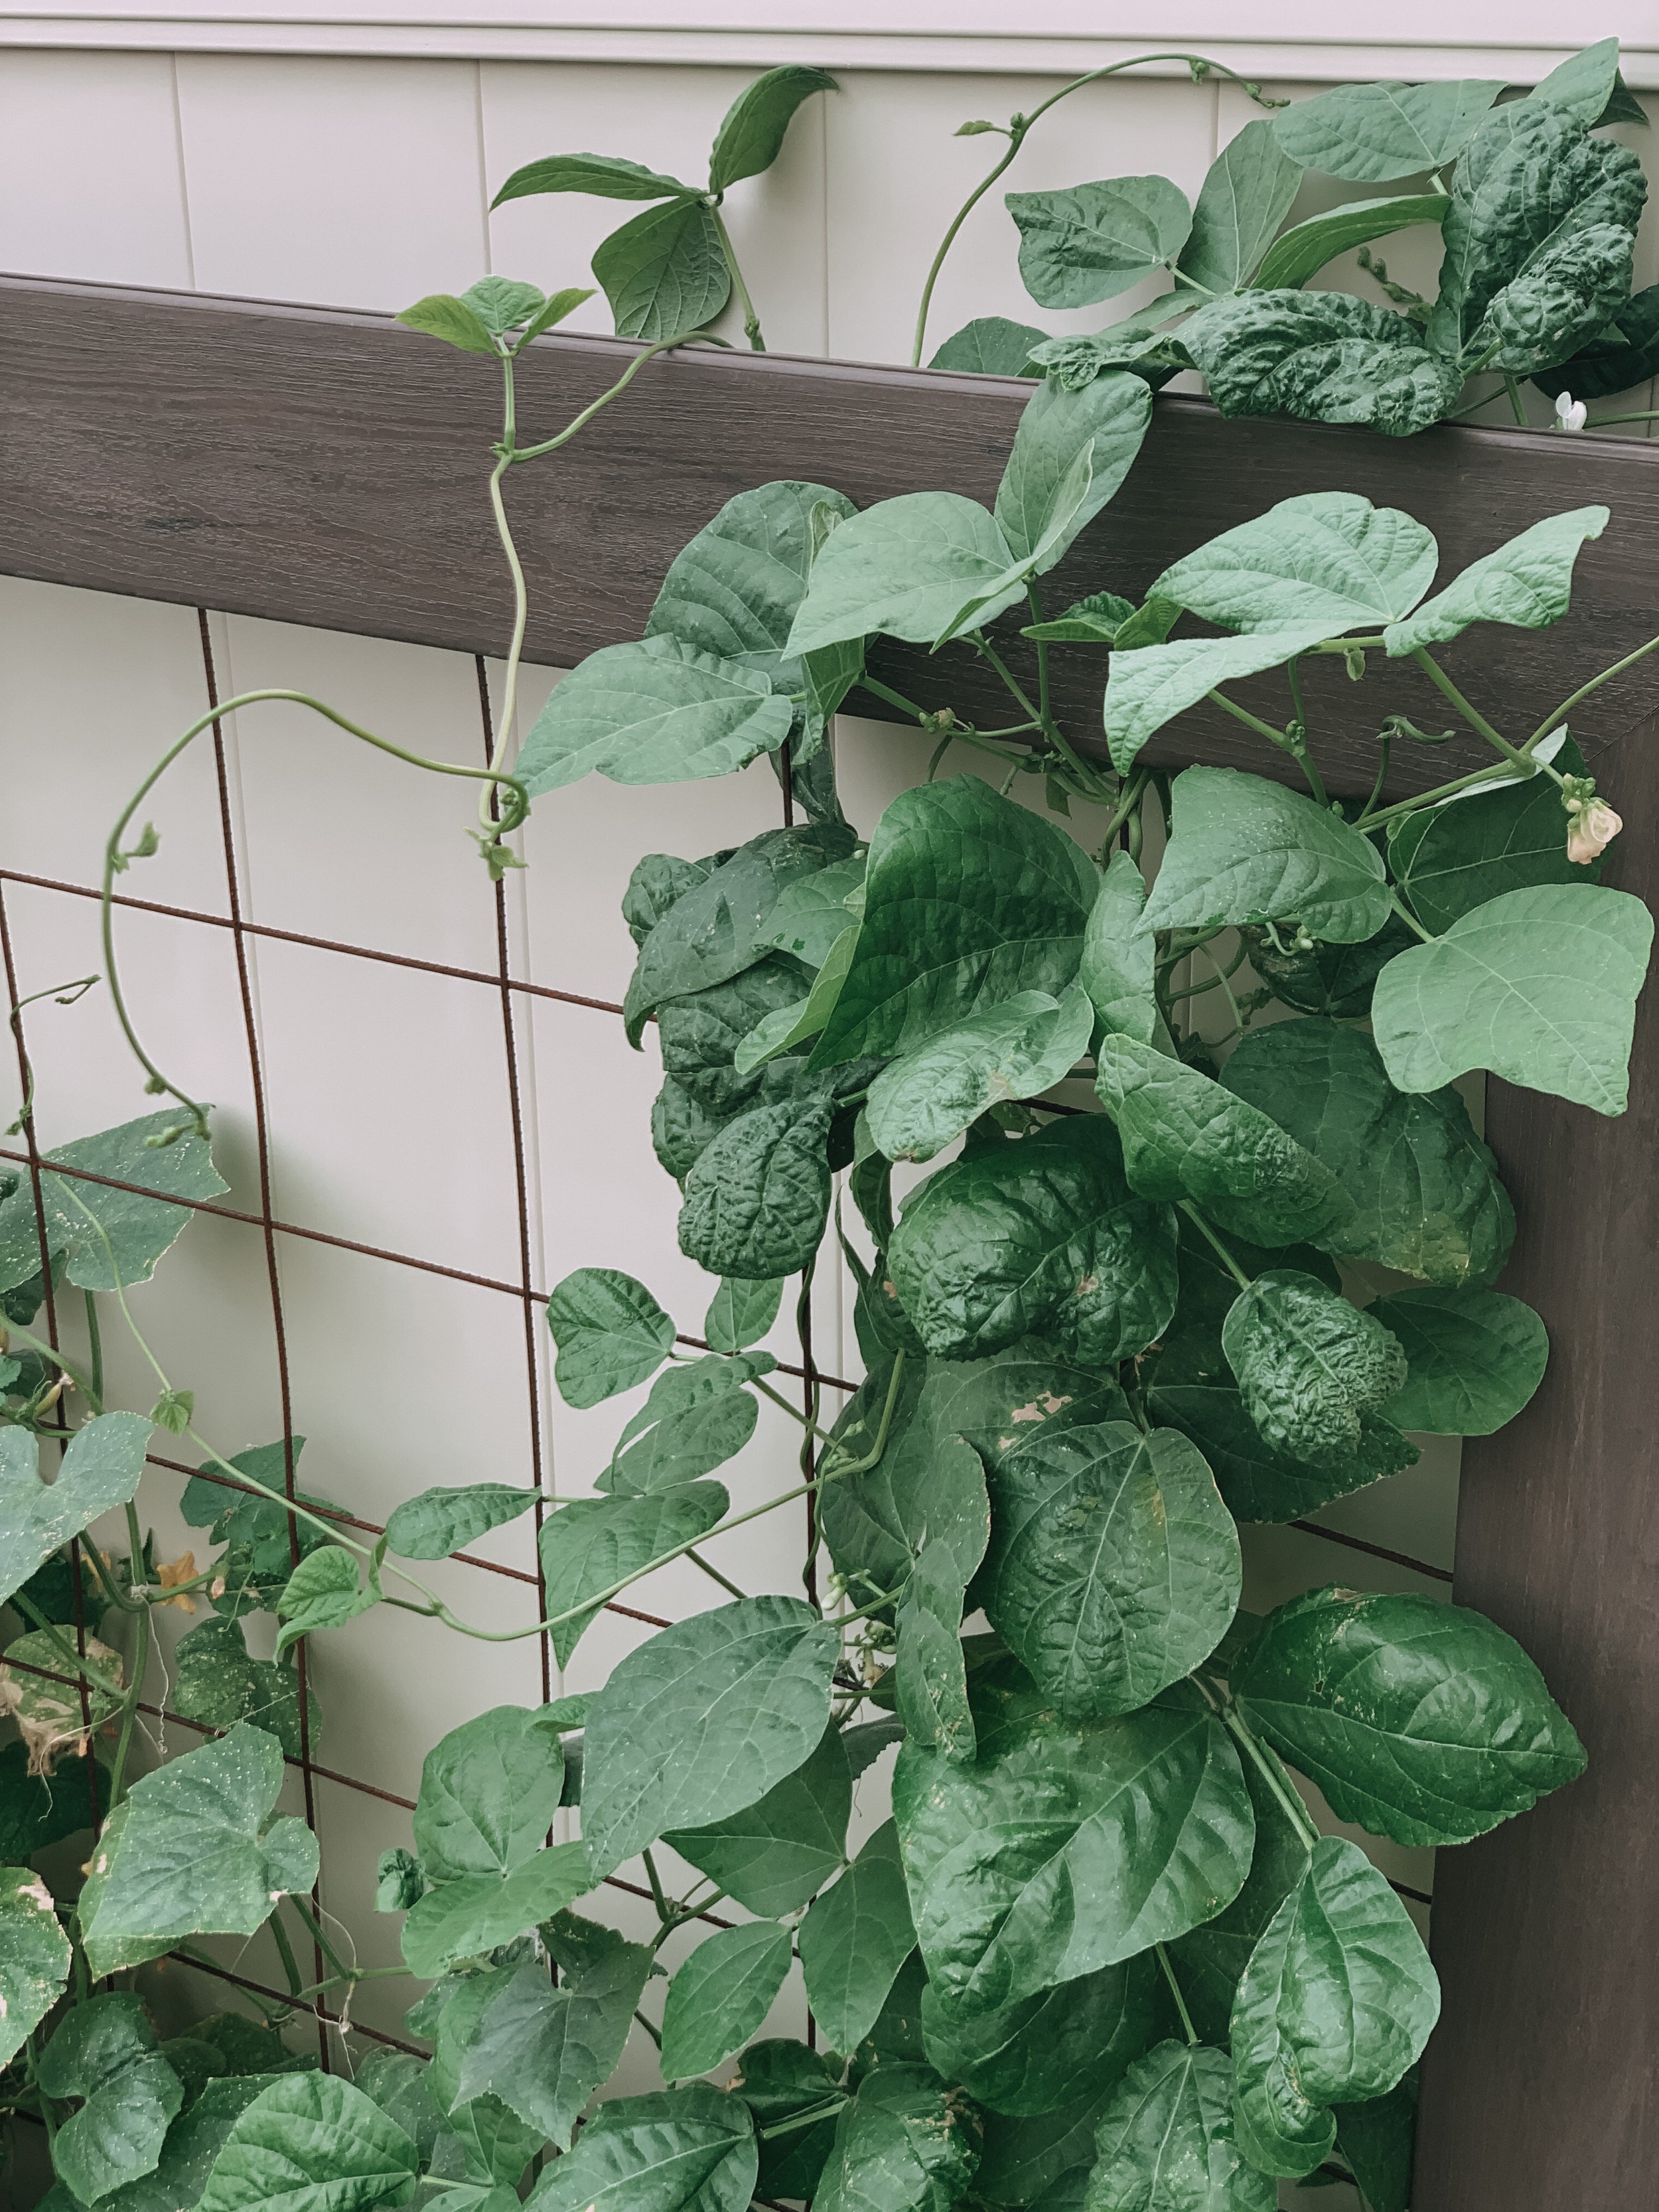
Our Raised Bed Garden
Hi, friends!
We’ve been through three seasons of gardening since we bought our house, and boy have I learned some things in that amount of time!
For starters, a little introduction to our property. We live in the suburbiest suburb you can imagine. Small-ish lots, basic landscaping, lots of grass. The one thing (other than the grass) that was already here when we bought our house was a willow tree in the far corner of the back yard. Actually, when we first toured the property it was more of an overgrown bush, but with some pruning it’s shaped up to be a wonderful source of shade in the summer heat, as well as a unique addition to our otherwise average yard space.
It was important to my husband to keep as much open grassy area as possible in the back yard so that he can play catch and do other dad things with the kids. If it were up to me, I’d get rid of most of the grass and turn the entire space into a whimsical, secret garden but alas, marriage. Anyway, we compromised on bringing the border along the fence in a bit so that I could plant to my heart’s content along the fence line.
One thing that was important to me when planning the garden space was spacing things out so that even in the off season things would look nice. To that end, I decided to do two large raised beds about ten feet apart, centered along our back fence. I then planted skip laurels on either side of and between the raised beds. Skip laurels are a favorite of mine because they can grow up to twelve feet tall, are relatively low maintenance once established, and they’re evergreen!
On to the raised beds. We built two raised beds, each 4’ wide, 6’ long and about a foot deep. I also wanted a trellis structure along the back, so we built a frame for that which came almost to the top of our 6’ fence.
One thing we did differently that I haven’t seen anyone else do is instead of using wood, which eventually rots even if you use pressure treated boards, we used trex decking. Credit to my husband, the carpenter, for this idea. Although the material cost us a bit more to start, we’ll never have to replace it or refinish it! And I can tell you after having it for a year, through a scorching hot summer and a below freezing, heavy snow winter, it looks as good as new still.
Now for the downside. The ONLY thing I wish we had done differently is actually to have made these beds smaller. Because the beds are only accessible from three sides, the middle/back portion is almost impossible to get to without balancing precariously over the front of the bed. If I had it to do over again, I’d simply make them three feet wide instead of four.
That said, we’ve still had a lot of success with our raised bed garden! I feel like I’ve grown so much as a gardener just in the last year. Up until now, I’ve only grown plants (fruits, veggies, and ornamentals) in containers. Certainly, container gardening takes its own skill and practice, but having the space to start a real garden has been both a dream come true and a deluge of lessons learned.
At the top of that list of lessons: MULCH.
My first growing season was spring, and I was so excited to get started that I bought grow lights and started a whole heap of seeds beginning in January. By spring, I was ready to transplant my lettuce, broccoli, and spinach into the garden bed. So I took my carefully tended little babies and tucked them in tight to their new home, patted down the soil, gave them a good water and then thought I was done. What I later learned is that you’re not done planting until you’ve properly mulched!
My plants did grow and I was able to harvest a bit from that first attempt. However, the bare soil not only dried out quickly, but every time it rained it sent mud splashing everywhere (including up onto my leafy greens, bringing harmful bacteria and pests with it). As the weather warmed, it became even more evident that my unmulched soil was not helping my plants to thrive, so I bought a bag of untreated wood chip mulch from Lowe’s and covered both garden beds generously. All of my plants went on to do much better after that!
Another lesson learned in my first year as a raised bed gardener: SOW THICKLY.
I gave a generous amount of space between each plant because I was worried about crowding, but I ended up with a lot of unused space as a result. Additionally, I think I would have had less trouble with things like bugs, leaf scald, and wind damage if I had planted the beds more densely. I’m starting quite a few more seeds this year for my spring garden, so I plan to sow them nice and thick!
Lesson number three: COMPANION PLANT. Now this one I attempted from the start, but I think I could have embraced more fully. Specifically, adding flowers in with edible plants to ward off pests, attract pollinators, and maximize crop yield.
I did plant marigolds and nasturtium in my summer garden, but I plan to add several more flower varieties to the garden this year, beginning with alyssum in my spring garden!
You can find a ton of lists online that breakdown specific companion plant pairings, and I encourage you to use those! There are some basic ones like planting basil and onions with tomatoes to improve flavor, or oregano with beans to deter pests. You probably won’t be able to incorporate every single companion pairing, especially if you have a small garden, but working several in is always a great idea!
Lesson four: WATERING. Many plants, especially tomatoes, can develop problems when their foliage is persistently wet. That’s why it’s best to water at the soil level rather than from above, and right at the base of the plant. I lost a few tomato plants to wet foliage issues last summer and it was a HUGE bummer.
Lesson five: PRUNING. Now, pruning techniques will vary depending on what you’re growing, but in general, pruning is a good thing. If you see something damaged or sick looking, use sharp, clean pruning shears and lop it off. Other pruning lessons I learned last year include getting rid of strawberry “runners” that take away energy for berry production and ripening, heavily pruning tomato foliage late in the season so that the rest of the tomatoes will have time to ripen before the first frost, and trimming basil regularly to encourage new growth.
I could probably make this list a lot longer, but we’re not writing a book here so I’ll just leave it at this: Whether you’re a novice gardener or you’ve been at it for decades, there is always something new to learn in the garden. Whether you’re gardening in containers, raised beds, or you have an entire field at your disposal, there will always be challenges to overcome. For me, adding raised beds to our little suburban farm has been one of the best improvements we’ve made to our home and property!
Speaking of which, I may or may not be planning on adding four more raised beds in our side yard…
But that’s a story for another day! Thanks for stopping by, friends, and happy gardening!


