
DIY Floating Shelves
Hi, friends!
Just popping in to share our latest home project: floating shelves in the kitchen!
The layout of our kitchen cabinets left about 20 inches of empty wall space above the peninsula seating area. The builder tiled all the way to the edge of the countertop, so I’ve thought since we moved in that it would be the perfect spot for floating shelves. Of course, we’ve been a little busy with other projects, so this one kept getting moved down the list. However, we had some gorgeous solid maple left over from our TV frame project, so the stars finally aligned to make it happen!

The eight inch maple board we were using had been cut down to about six inches, so that’s the depth we had to work with. In a perfect world, I think a little bit deeper shelf would have been more useful for storing dishes, etc, but waste not, want not!
Hamilton used a table saw to cut two lengths of board, each 19 inches (to line up with the edge of the tile backsplash).
The cabinets were installed slightly out of square, so he had to adjust the angle of the cut on the end a little to make them sit flush to the cabinet. Honestly, for the average DIYer I think this step is a bit overkill, but alas, I married a carpenter.
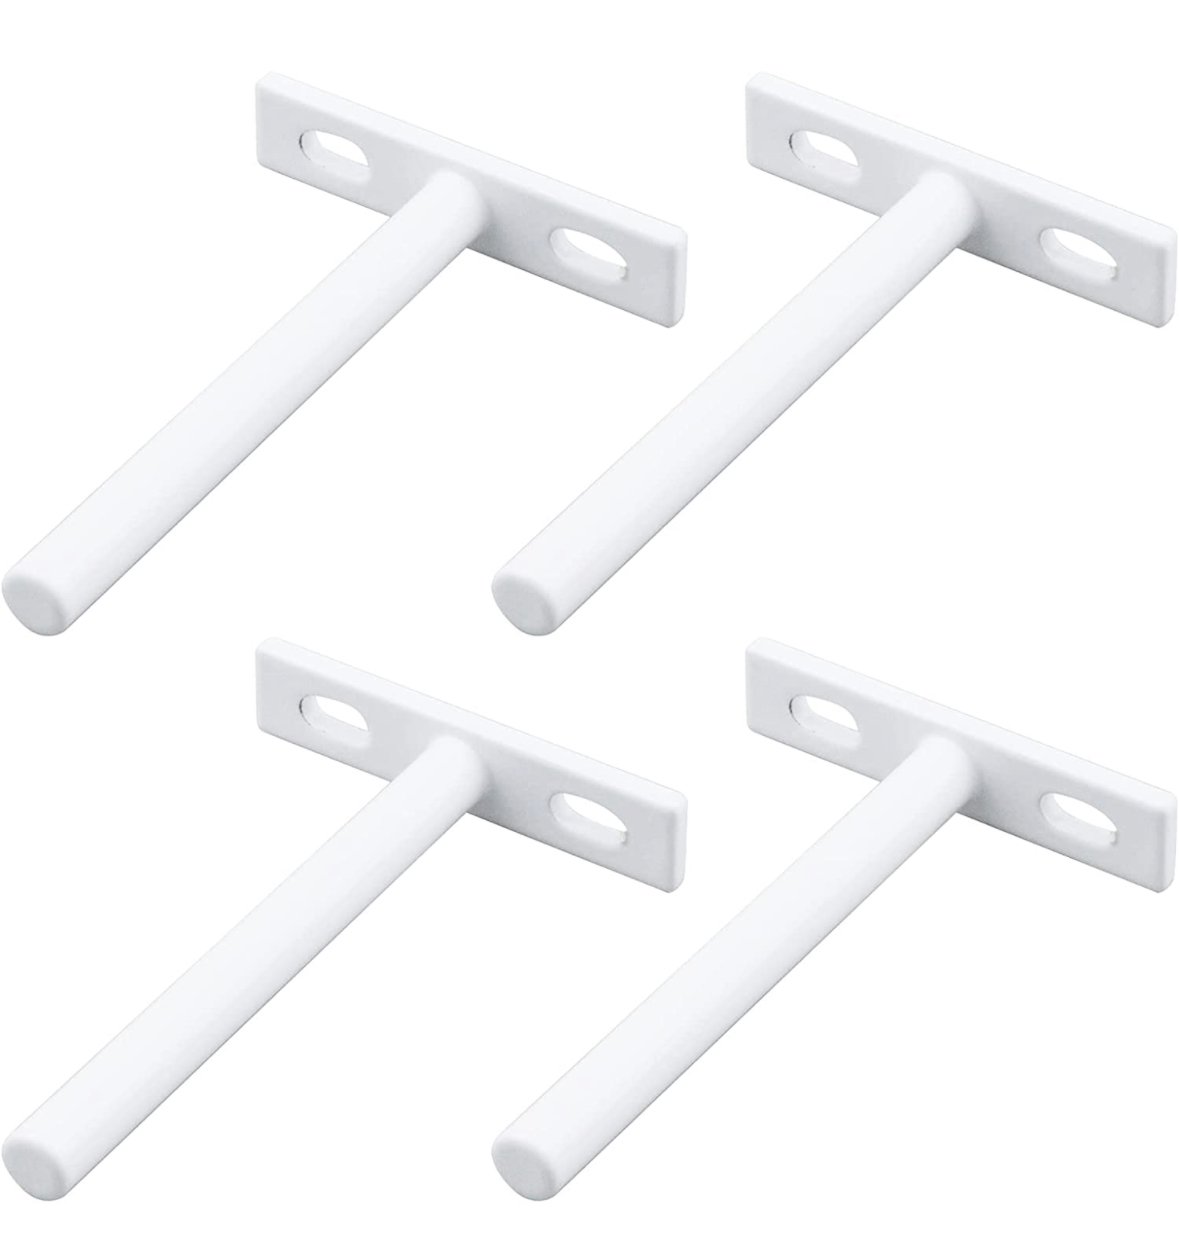
I ordered these invisible shelf brackets from Amazon to secure the shelves to the wall. Hamilton chiseled out the wood so that the brackets would sit entirely inside the shelf without a gap between the shelf and the wall. Because we used a solid, heavy wood, we also added a screw through the inside of the cabinet into the inside edge of the shelf. Between the brackets and the extra screw, these puppies aren’t going anywhere!
Oops, I almost forgot! We also rounded the corners of the shelves just slightly with a router to soften the sharp edges. I think it gave the whole thing a more finished look.

I haven’t stained or sealed the shelves yet, mostly because I just love the look of the raw maple! I’ll give y’all an update if I decide to stain them. What do you think? Stain it or leave it?
Of course, the most fun part of the project for me was styling the shelves! I used dishes and items we already had, including these scalloped drinking glasses from Walmart and this pretty floral artwork from Target.

Next on my to-do list: add a kitchen rail below the shelves! For now, my dish towels are hanging from push pins 😆. Sometimes you gotta make do, right?

That’s all for today, friends! Thanks for stopping by, and happy DIYing!